
Veo 3.1 Video Generator

Create scene concepts with Veo 3.1 in Image4. Guide the subject, action, and camera view with text or supported images, then review the available video controls.

Start Frame
End Frame

Image 1 is the first frame; image 2 is the optional last frame. The input image may determine the canvas.

5s
4s8s

Credits will be automatically refunded if generation fails.

Your video preview

Start with one clear action and one camera movement. Your finished video appears here.

Session history
Sign in to see your session history.

Shot guide

Veo 3.1 Video Generator: inputs and creative direction

The active provider determines which input modes and settings are available for the shot.

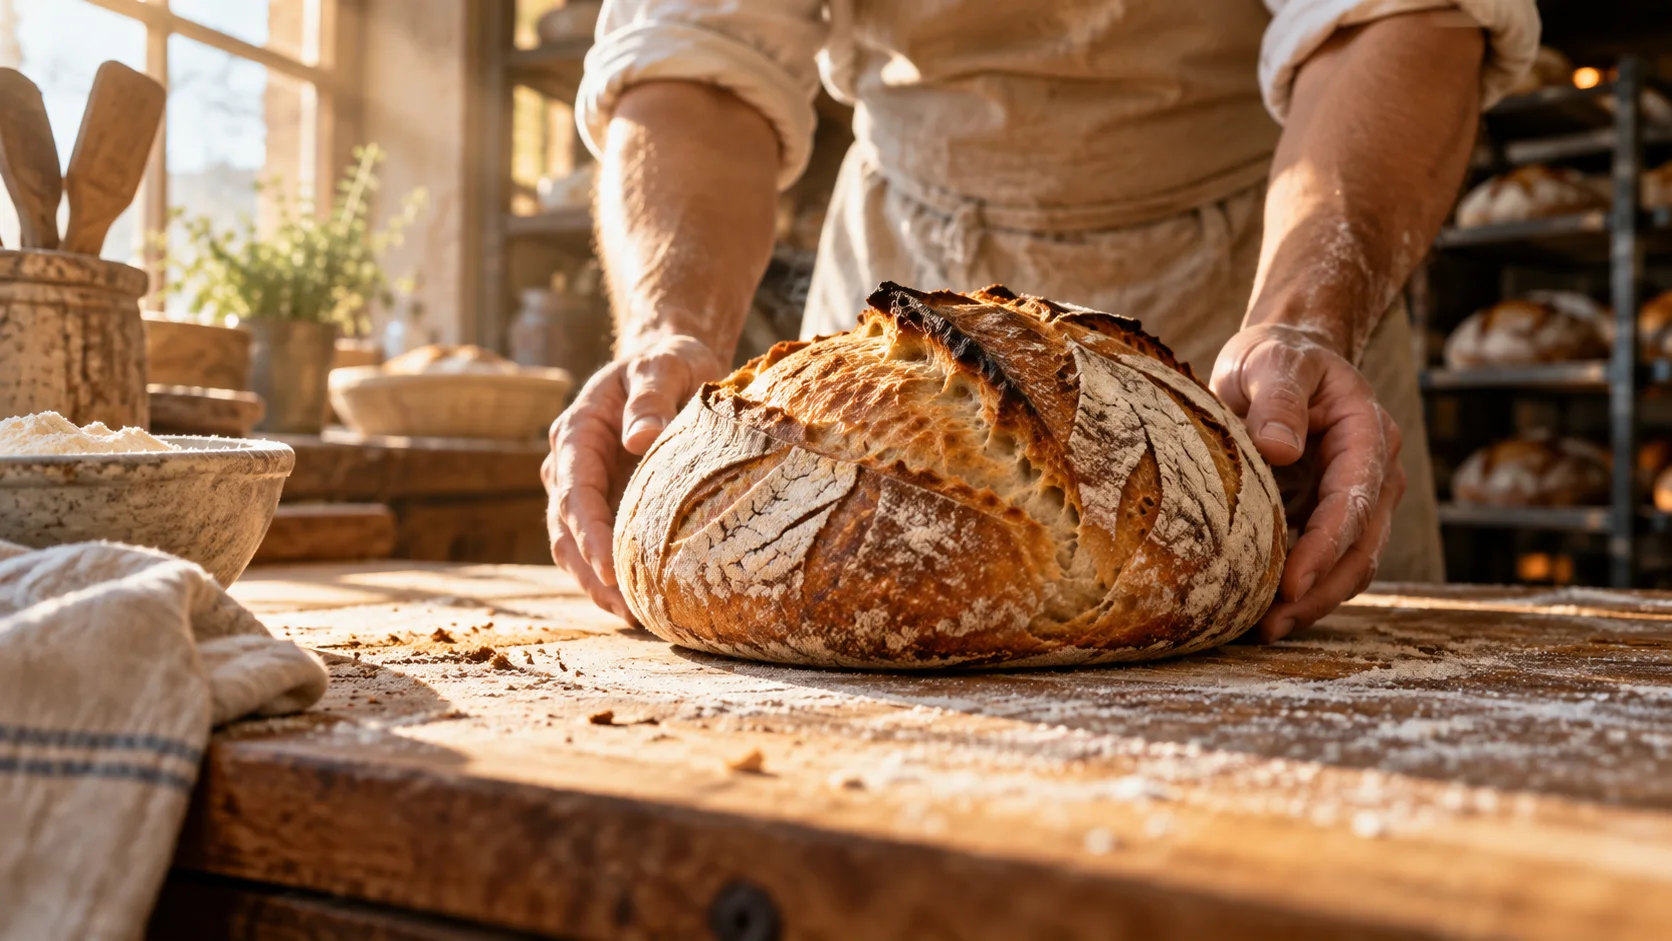
Warm bakery counter concept with bread and morning window light
Illustrative concept visual created for this page; it is not a generated video or verified output from the named model.

Model input

Select an available input mode

KIE supports text-to-video and image-to-video for Veo 3.1. On fal, reference-to-video is also available with up to three images.

  • Cinematic scene drafts where a deliberate camera move and sound direction matter.
  • The brief joins one hand action with a modest camera move and a sound cue that can be checked in the finished clip.

Shot brief

Bakery morning shot

The brief joins one hand action with a modest camera move and a sound cue that can be checked in the finished clip.

  • Example brief: “A baker places a fresh loaf on a wooden counter as warm morning light crosses the flour-dusted surface, slow camera push toward the bread, quiet room tone with a soft tray sound, natural color, no readable labels.”
  • Use one principal action and a camera direction to keep the shot easy to review.

Output settings

Check the active model controls

Choose a 4-, 6-, or 8-second clip and 720p, 1080p, or 4K output. KIE includes audio and offers 16:9, 9:16, or automatic framing. On fal, reference-image generation uses an 8-second clip.

  • Choose a 4-, 6-, or 8-second clip and 720p, 1080p, or 4K output. KIE includes audio and offers 16:9, 9:16, or automatic framing. On fal, reference-image generation uses an 8-second clip. KIE is the default provider. Available modes and controls can vary by provider, model, and mode, so use the values shown in the generator before submitting.
  • Review the active options and credit estimate before submitting.

Quality check

Review the complete clip

Generated motion can change framing or fine details. Review the entire clip against the shot brief before using it.
  • Check motion, framing, subject details, readable text, and audio when enabled.
  • Compare the result with the bakery morning shot brief before using it in finished work.

From input to reviewed clip

How to use Veo 3.1 Video Generator in Image4

Use the bakery morning shot as a planning reference, then confirm that the selected provider supports your input mode.

  1. 01

    Select an available input mode

    KIE supports text-to-video and image-to-video for Veo 3.1. On fal, reference-to-video is also available with up to three images.

  2. 02

    Write for visible motion

    Name the subject, one principal action, the setting, and any camera move. For image-guided video, say which details should stay recognizable; guidance does not guarantee exact preservation.

  3. 03

    Check provider-specific settings

    Choose a 4-, 6-, or 8-second clip and 720p, 1080p, or 4K output. KIE includes audio and offers 16:9, 9:16, or automatic framing. On fal, reference-image generation uses an 8-second clip. KIE is the default provider. Available modes and controls can vary by provider, model, and mode, so use the values shown in the generator before submitting.

  4. 04

    Review and refine the clip

    Generated motion can change framing or fine details. Review the entire clip against the shot brief before using it.

Common questions

Veo 3.1 Video Generator FAQ

Explore Veo 3.1 Video Generator in Image4

The brief joins one hand action with a modest camera move and a sound cue that can be checked in the finished clip. Choose a supported input mode, review the current controls and credit estimate, then create a draft in the video workspace.