GPT Image 2 AI Image Generator

Create campaign layouts and scene concepts with GPT Image 2 in Image4. Describe the composition, add optional references, and choose compatible output settings.

Prompt Templates
Explore more prompts
Cobalt-blue glass perfume bottle on a pale stone pedestal in a sunlit studio
Prompt Templates

Model guide

GPT Image 2: generation and editing capabilities

Review supported inputs, output settings, and practical limits before using a draft.

Coral-colored still-life product concept in soft studio light
Original illustrative concept visual generated for this GPT Image 2 page; it is not a verified model output.

Prompting

GPT Image 2 image creation

Describe the subject, setting, composition, and lighting to create a new image with GPT Image 2.

  • Example direction: State the subject placement, environment, lighting, and visual hierarchy, then choose framing that fits your intended layout.
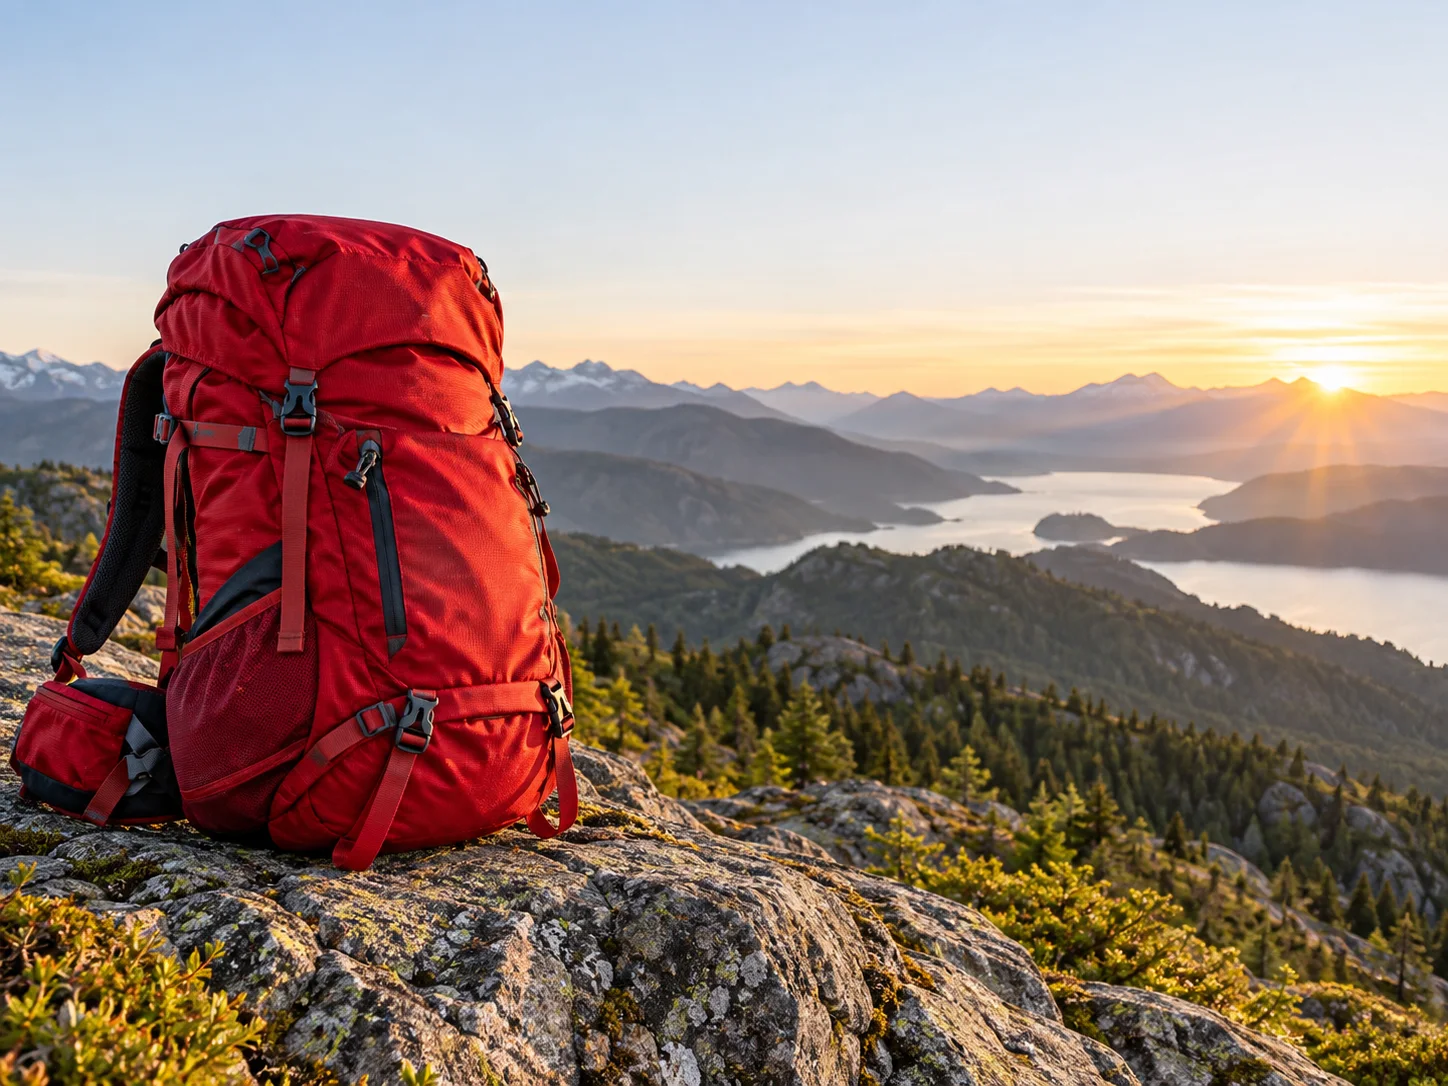
  • Example prompt: “Create a wide hiking campaign image with a red backpack in the left third of a rocky overlook, distant mountain ridges at sunrise, realistic fabric texture, and open sky on the right. No text.”

Reference editing

Guide edits with image references

Add supported reference images through KIE’s GPT Image 2 image-to-image endpoint, then explain the intended transformation in the prompt. The model may reinterpret details, so review the result before using it in a finished asset.

  • Example edit: State which details to preserve and which parts to change, then inspect the output against the source image.
  • Image4 routes requests through the selected API provider, with KIE as the default. Model names and trademarks belong to their respective owners; this page describes the Image4 workflow and is not an official provider product page.

Output settings

Choose supported output settings

Select an aspect ratio and compatible resolution, or use Auto at 1K. Square output supports 1K and 2K; some extended ratios have additional resolution limits. Quality choices depend on the active provider.

  • Select an aspect ratio and compatible resolution, or use Auto at 1K. Square output supports 1K and 2K; some extended ratios have additional resolution limits. Quality choices depend on the active provider.
  • Choose 1K, 2K, or 4K output where supported by the selected aspect ratio. Auto framing uses 1K output.

Iteration

Refine the visual direction

Change one part of the prompt at a time to compare composition, color, lighting, or material choices across drafts.

  • Generated text, identity, materials, and fine details may differ from the prompt or source image. Review each output before publishing or using it in production.
  • Refine one visual decision at a time to make changes easier to evaluate.

From brief to reviewed image

How to use GPT Image 2

Use a focused prompt for detailed scene briefs, campaign layouts, product imagery, and prompt-based edits. and confirm the supported inputs before generation.

  1. 01

    Choose the model

    Open the image workspace with this model selected. It is suited to detailed scene briefs, campaign layouts, product imagery, and prompt-based edits.

  2. 02

    Write a specific brief

    State the subject placement, environment, lighting, and visual hierarchy, then choose framing that fits your intended layout. Include the subject, composition, and visual details that matter to this image.

  3. 03

    Set output options

    Select an aspect ratio and compatible resolution, or use Auto at 1K. Square output supports 1K and 2K; some extended ratios have additional resolution limits. Quality choices depend on the active provider. Review the available choices and credit estimate before submitting.

  4. 04

    Review and refine

    Generated text, identity, materials, and fine details may differ from the prompt or source image. Review each output before publishing or using it in production. Compare the draft with your goal, then refine one detail at a time.

OpenAI AI image model

GPT Image 2 FAQ

Create images with GPT Image 2

Start with gpt image 2 scene example, review the supported settings, and compare the generated image with your brief before using it.